Apache Flink Tutorial: Real-Time Stream Processing for Event Data
This Apache Flink tutorial is a practical introduction to real-time stream processing. Instead of staying theoretical, we will install Flink locally, build a simple streaming job, and walk through key concepts like event time, windows and watermarks. By the end, you will have a small piece of hands-on Flink Apache training that you can adapt for your own pipelines.

In this guide we will cover:
- What Apache Flink is and when to use it instead of batch tools
- Setting up a small local Flink cluster
- Creating a streaming job that processes events in real time
- Understanding event time, watermarks and windows
- Surfacing results in a simple HTML “chart” and how it fits into your stack
For deeper background, you can always refer to the official
Apache Flink website
and the
Flink documentation.
Later, you can connect this streaming job to batch processing with
Apache Spark,
or push aggregated results into systems covered in the
SQL basics tutorial
and the
Google Analytics / Ads tracking tutorial.
1. What is Apache Flink and when should you use it?
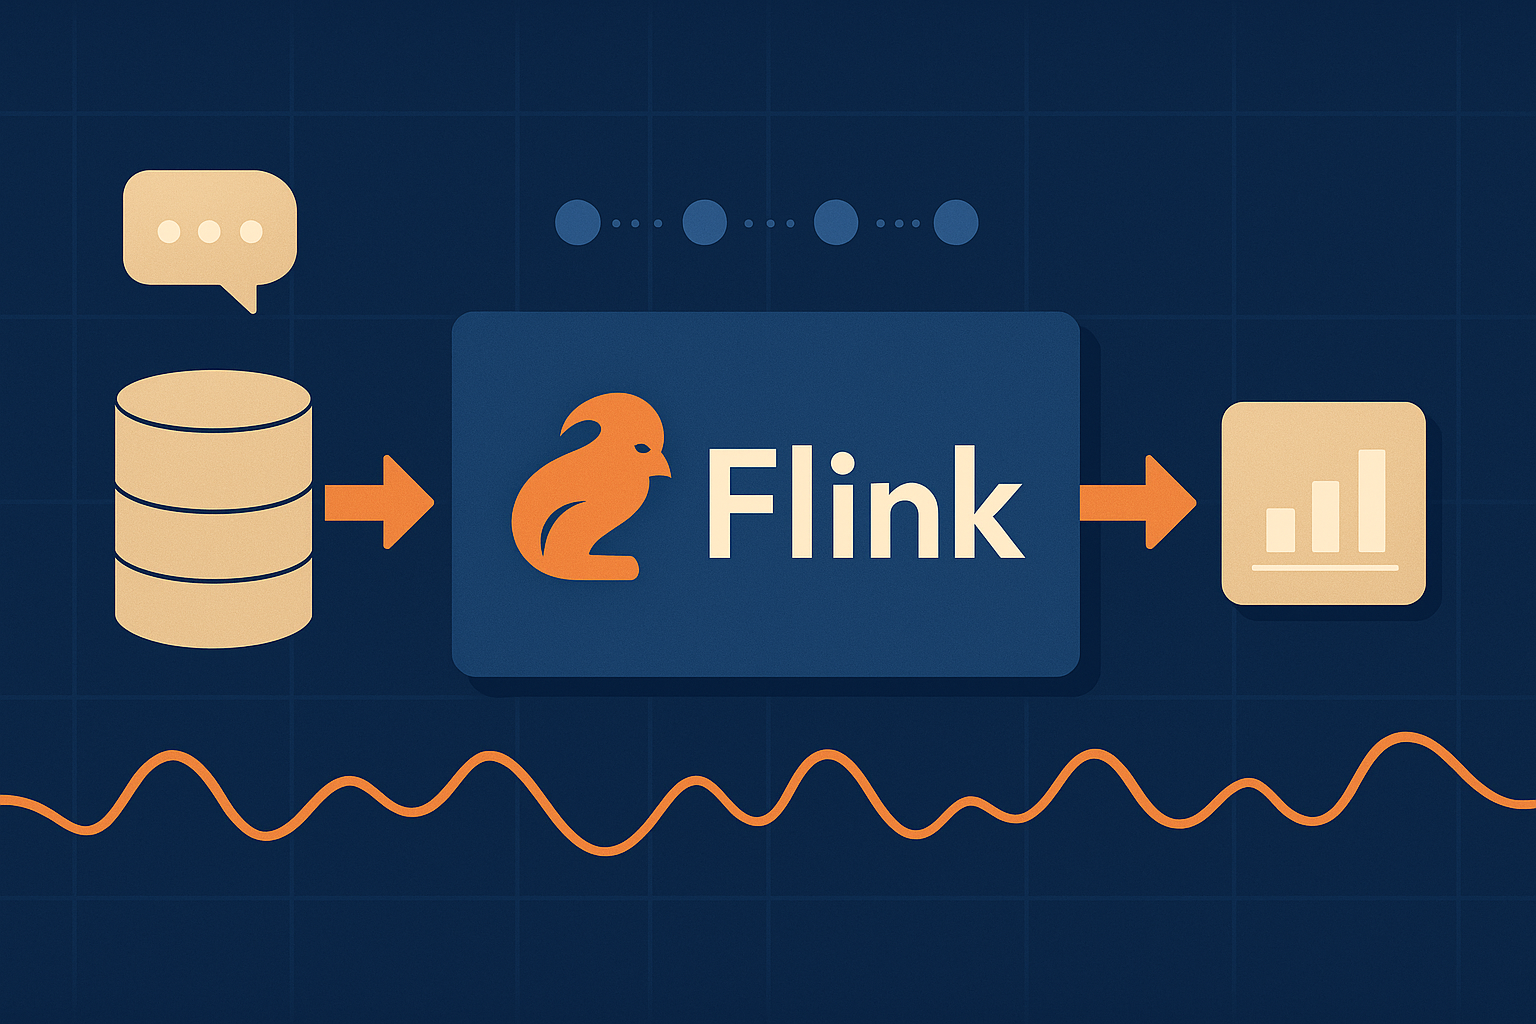
At a high level, Apache Flink is a distributed stream processing engine. While tools like Spark started with batch jobs and added streaming later, Flink was designed for streams from day one. In other words, Flink treats your data as an endless flow of events rather than as static files.
Flink gives you three important capabilities:
- Low-latency processing – results update in seconds or milliseconds, not hours.
- Event time semantics – logic is based on when events actually happened, not just when they arrived.
- Stateful operators – you can keep per-key state for counts, aggregations, sessions and more.
Because of these features, teams use Flink Apache to power real-time dashboards, fraud detection, monitoring, alerting, streaming ETL and many other event-driven applications.
2. Local Apache Flink training environment
Before deploying anything to a production cluster, it is helpful to run Flink locally. This lets you iterate quickly and understand the fundamentals. In this section we start a mini cluster on your machine.
2.1 Download and start Apache Flink
First, download a stable Flink release from the
downloads page.
Then, unpack it and start a local cluster:
# example version, adjust as needed
wget https://archive.apache.org/dist/flink/flink-1.18.0/flink-1.18.0-bin-scala_2.12.tgz
tar -xzf flink-1.18.0-bin-scala_2.12.tgz
cd flink-1.18.0

# start a local Flink cluster
./bin/start-cluster.sh

# open the Flink Web UI (usually)
# http://localhost:8081
After the cluster starts, you should be able to open the Flink Web UI in your browser. This is where you can monitor jobs, see task managers and inspect metrics.
2.2 Concepts you should know before writing code
Before jumping into code, it helps to internalize a few core Flink concepts:
- Source – where your data comes from (for example, a Kafka topic).
- Stream – an unbounded sequence of events.
- Operators – transformations like
map,filter,keyByand window operations. - Sink – where your processed data goes (for example, another Kafka topic, a database or a dashboard backend).
With those in mind, let’s write a very small streaming job.
3. A simple Apache Flink streaming job
In this part of the Apache Flink tutorial we will count events per user over a sliding time window. We will use the DataStream API in Java since that is what most Flink examples use, but the ideas carry over to Scala and Python as well.
3.1 Define an event type
First, we define a simple Java POJO to represent our events:
public class UserEvent {
    public String userId;
    public String eventType;
    public long eventTime; // epoch millis

    // empty constructor required by Flink
    public UserEvent() {}

    public UserEvent(String userId, String eventType, long eventTime) {
        this.userId = userId;
        this.eventType = eventType;
        this.eventTime = eventTime;
    }
}
3.2 Build the streaming job
Next, we set up a StreamExecutionEnvironment, ingest events, assign timestamps and watermarks, and compute counts in a sliding window. For simplicity, we will use a built-in source here, but you can plug in Kafka later.
import org.apache.flink.api.common.eventtime.SerializableTimestampAssigner;
import org.apache.flink.api.common.eventtime.WatermarkStrategy;
import org.apache.flink.api.common.functions.MapFunction;
import org.apache.flink.api.common.serialization.SimpleStringSchema;
import org.apache.flink.streaming.api.datastream.DataStream;
import org.apache.flink.streaming.api.environment.StreamExecutionEnvironment;
import org.apache.flink.streaming.api.windowing.assigners.SlidingEventTimeWindows;
import org.apache.flink.streaming.api.windowing.time.Time;

import java.time.Duration;

public class UserEventCountJob {

    public static void main(String[] args) throws Exception {
        StreamExecutionEnvironment env = StreamExecutionEnvironment.getExecutionEnvironment();

        // Example: read from a socket or Kafka in real setups
        DataStream<String> raw = env.socketTextStream("localhost", 9999);

        DataStream<UserEvent> events = raw
            .map(new MapFunction<String, UserEvent>() {
                @Override
                public UserEvent map(String value) {
                    // very simple CSV: userId,eventType,eventTimeMillis
                    String[] parts = value.split(",");
                    return new UserEvent(
                        parts[0],
                        parts[1],
                        Long.parseLong(parts[2])
                    );
                }
            });

        WatermarkStrategy<UserEvent> watermarkStrategy =
            WatermarkStrategy
                .<UserEvent>forBoundedOutOfOrderness(Duration.ofSeconds(10))
                .withTimestampAssigner(new SerializableTimestampAssigner<UserEvent>() {
                    @Override
                    public long extractTimestamp(UserEvent element, long recordTimestamp) {
                        return element.eventTime;
                    }
                });

        DataStream<UserEvent> withWatermarks = events.assignTimestampsAndWatermarks(watermarkStrategy);

        withWatermarks
            .keyBy(e -> e.userId)
            .window(SlidingEventTimeWindows.of(Time.minutes(5), Time.minutes(1)))
            .process(new UserEventCountProcessWindow())
            .print();

        env.execute("apache-flink-user-event-count");
    }
}
The UserEventCountProcessWindow would be a simple window function that counts events per user. For example, it might emit JSON that your dashboard can consume.
4. Event time, watermarks and why they matter
One of the reasons people choose Apache Flink over simpler stream processors is its strong event time model. In real systems, events almost never arrive perfectly in order. Network delays, retries and batching all introduce disorder.
Flink handles this with two concepts:
- Event time – the timestamp inside the event that indicates when it actually happened.
- Watermarks – Flink’s notion of how far along in event time a stream has progressed.
In the code above, the WatermarkStrategy is configured with a bounded out-of-orderness of 10 seconds. This means Flink assumes events may arrive up to 10 seconds late, after which it will close windows and emit final results. Consequently, you get a balance between accuracy and latency.
For more detail, the official
Flink time and watermarks documentation
is an excellent reference and pairs nicely with this Apache Flink tutorial.
5. Windows and aggregations
Windows are how Flink transforms an infinite stream into manageable chunks. In this tutorial we used a sliding event-time window of 5 minutes that slides every 1 minute. However, Flink offers many window types:
- Tumbling windows – non-overlapping windows of fixed size.
- Sliding windows – fixed-size windows that can overlap.
- Session windows – dynamically sized windows based on periods of activity and inactivity.
Here is a simplified example of a tumbling window for counting events per country:
withWatermarks
    .keyBy(e -> e.eventType)
    .window(TumblingEventTimeWindows.of(Time.minutes(5)))
    .process(new EventTypeCountProcessWindow())
    .name("event-type-count-5m");
When you combine event time, watermarks and windows, you get robust real-time analytics that can tolerate real-world delays without double counting or losing data.
6. A simple “chart” of Flink results
To see how this looks in a UI, imagine your Flink job produces per-minute counts of events by type:
minute,event_type,count
12:00,login,120
12:00,purchase,15
12:01,login,110
12:01,purchase,18
In WordPress, you can render this as a simple HTML table with rudimentary bars to show relative volumes. Later, you might replace this with a React chart like the ones described in your
React dashboard tutorial.
| Minute | Event Type | Count | Relative Volume |
|---|---|---|---|
| 12:00 | login | 120 | |
| 12:00 | purchase | 15 | |
| 12:01 | login | 110 | |
| 12:01 | purchase | 18 |
This simple HTML “chart” makes it clear how Apache Flink transforms raw events into metrics you can actually reason about. Flink does the streaming work; WordPress and your front-end do the storytelling.