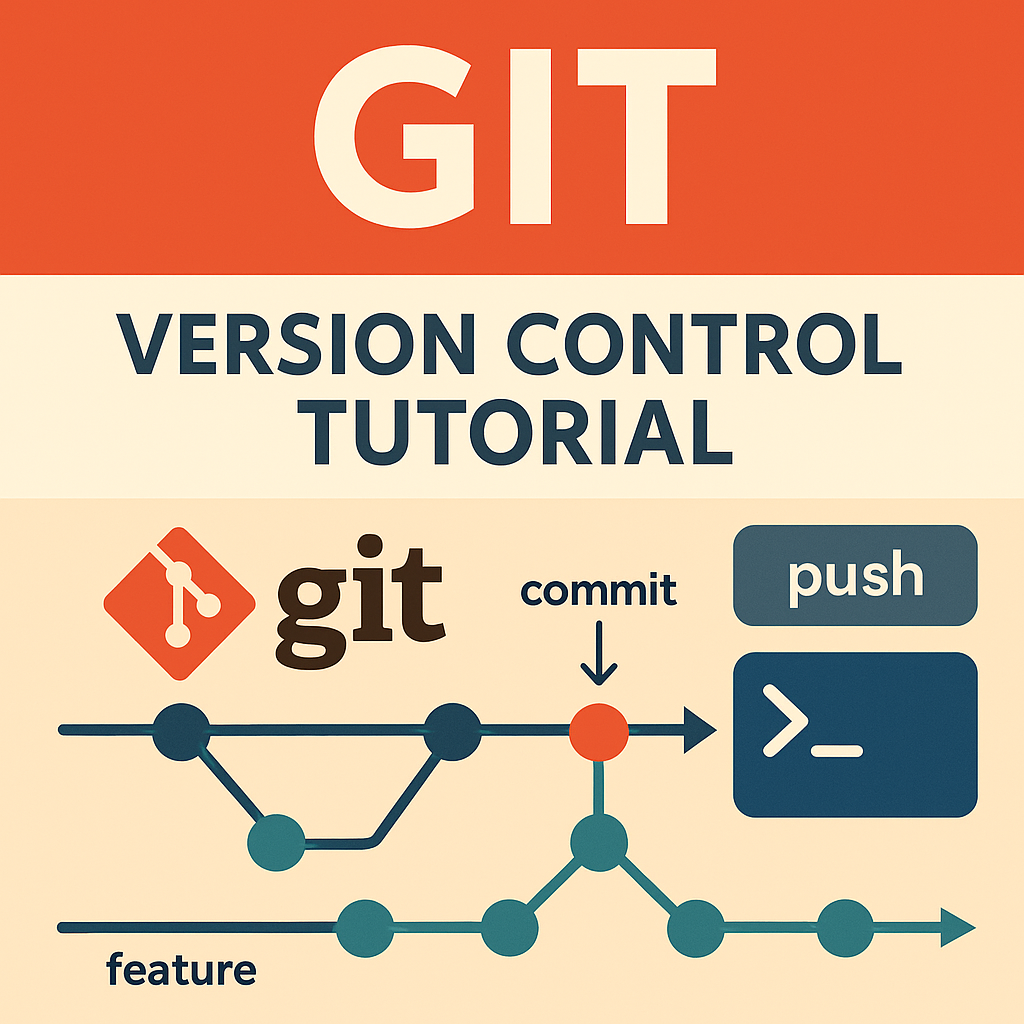
Git Version Control Tutorial: From First Commit to Feature Branches
This Git version control tutorial walks you from zero to working confidently with Git on real projects. Instead of just memorizing commands, you will learn how Git thinks: snapshots, commits, branches, merges and remotes. By the end, you will be able to create a repo, commit changes, branch for features, merge them back and push everything to a remote like GitHub or GitLab.
In this Git tutorial we will cover:
- What Git is and why version control matters
- Initializing a Git repository and making your first commit
- Understanding Git status, staging and history
- Creating and working with feature branches
- Merging branches and resolving simple conflicts
- Pushing to and pulling from a remote repository
For deeper reference during this Git version control tutorial, keep the
official Git documentation
open. You can also connect this article to related posts such as the
CI/CD pipeline tutorial,
Linux basics for developers,
and your language-specific guides like the
Java backend tutorial
or
Python data engineering tutorial.
1. Git version control tutorial: why Git?
Git is a distributed version control system. That means every developer has a complete copy of the repository, including the full history of changes. This Git version control tutorial focuses on practical commands, but the big ideas are:
- Snapshots, not diffs – Git stores snapshots of your files at each commit.
- Cheap branches – creating and merging branches is fast and lightweight.
- Local and remote – you can work offline locally, then sync with remotes.
Using Git makes it safe to experiment: if you break something, you can roll back to a previous commit or switch to another branch.
2. Git version control tutorial setup
To follow this Git version control tutorial, you just need Git installed and a terminal. On Linux and macOS, Git is often preinstalled; on Windows you can use Git for Windows or WSL.
2.1 Check your Git installation
git --version

# Example output:
# git version 2.46.0
2.2 Configure your name and email
Git associates every commit with a name and email. Set them globally once:
git config --global user.name "Jason Lotzer"
git config --global user.email "you@example.com"
You can override these per-repository later if needed.
3. Git version control tutorial: create a repo and first commit
Now the hands-on part of this Git version control tutorial begins. You will create a small project, initialize a repository, and make your first commit.
3.1 Initialize a repository
mkdir git-tutorial-demo
cd git-tutorial-demo

git init
Git creates a hidden .git directory that stores all version control data.
3.2 Add a file and commit it
Create a simple README file and commit it:
echo "# Git version control tutorial demo" > README.md

git status

git add README.md
git commit -m "Initial commit: add README"
The git add step stages the file, and git commit records a snapshot in the repository history.
4. Git version control tutorial: status and history
To use Git effectively, you must be comfortable reading the repo’s current state and history. This section of the Git version control tutorial shows the key commands.
4.1 See what changed with git status
Edit README.md and then run:
git statusYou will see which files changed, which are staged, and which are untracked.
4.2 View commit history with git log
git log --oneline --graph --decorateThis shows a compact, graphical view of your commit history, which becomes more useful once you start branching.
5. Git version control tutorial: feature branches
Branches are a core idea in any Git version control tutorial. A branch is just a pointer to a commit, letting you work on new features without touching the main line of development.
5.1 Create and switch to a feature branch
# create and switch to a new branch
git checkout -b feature/add-api-docs
Edit README.md again or add a new file, for example API.md, then commit:
echo "## Example API description" > API.md

git add API.md
git commit -m "Add basic API docs"
5.2 Switch back to main and merge
git checkout main

git merge feature/add-api-docs
If there are no conflicts, Git will fast-forward or create a merge commit. Either way, your docs are now part of the main branch.
6. Git version control tutorial: simple merge conflict example
No Git version control tutorial is complete without at least one merge conflict. Here is a minimal example you can reproduce safely.
- On
main, edit the same line inREADME.mdand commit it. - Checkout your feature branch, edit that same line differently, and commit again.
- Try merging the feature branch into
main.
Git will mark the conflict in README.md with <<<<<<< and >>>>>>> markers. Manually edit the file to keep the correct text, then:
git add README.md
git commit -m "Resolve README conflict"
Now your merge is complete and the history records both branches.
7. Git version control tutorial: remotes, push and pull
So far this Git version control tutorial has only worked locally. In real projects, you push to and pull from a remote repository hosted on GitHub, GitLab, Bitbucket or your own Git server.
7.1 Add a remote
Assuming you created a new empty repo on GitHub called git-tutorial-demo:
git remote add origin git@github.com:youruser/git-tutorial-demo.git7.2 Push your main branch
git push -u origin mainThis uploads your commits to the remote and sets origin/main as the upstream for your local main branch, so future git push and git pull commands know where to sync.
8. Simple Git history “chart” for this tutorial
As a final step in this Git version control tutorial, here is a tiny commit history chart in table form. Imagine your repo history after creating a feature branch and merging it:
hash,branch,message
a1b2c3d,main,Initial commit: add README
d4e5f6a,feature/add-api-docs,Add basic API docs
f7a8b9c,main,Merge branch 'feature/add-api-docs'| Short Hash | Branch | Message | Relative Position |
|---|---|---|---|
| a1b2c3d | main | Initial commit: add README | |
| d4e5f6a | feature/add-api-docs | Add basic API docs | |
| f7a8b9c | main | Merge branch ‘feature/add-api-docs’ |
This simple representation mirrors the branch graph you might see in a Git GUI or on GitHub. Combined with the commands above, you now have a practical mental model for using Git confidently in day-to-day development.
That wraps up this Git version control tutorial. Next steps include learning advanced features like interactive rebase, cherry-pick and bisect, and integrating Git deeply into your CI/CD workflows.