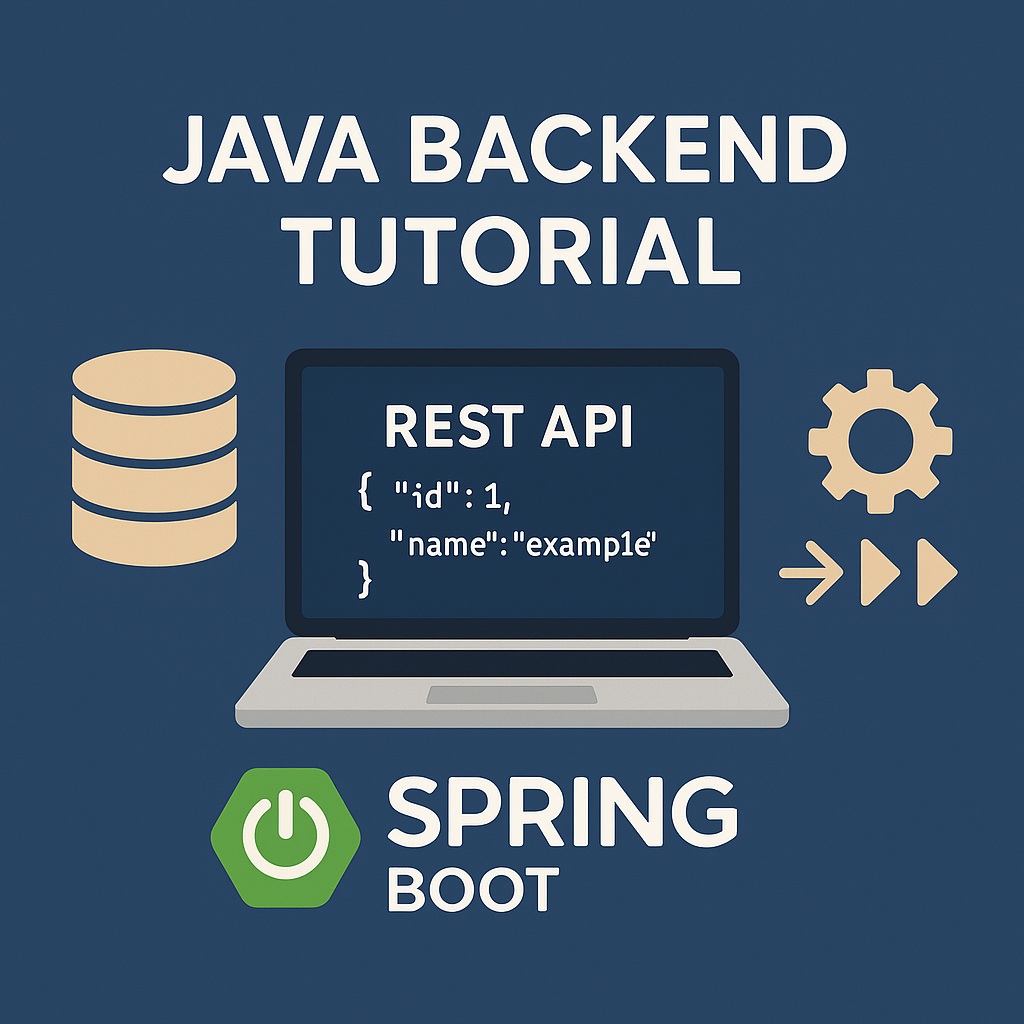
Java Backend Tutorial: Build a REST API with Spring Boot
This Java backend tutorial walks through building a small REST API using Spring Boot. Instead of focusing only on syntax, we will stand up a project, create a simple controller, wire in a data model, and then expose JSON endpoints that clients can call. By the end, you will have a minimal but realistic Java backend that you can plug into front ends, data pipelines and logging tools.
In this guide we will cover:
- Why Java is still a strong choice for backend development
- Creating a Spring Boot project for this Java backend tutorial
- Building a REST API endpoint that returns JSON
- Adding a simple in-memory repository and a DTO
- Testing the API with curl and visualizing responses
- Connecting this Java backend to databases and CI/CD later
For reference, it helps to keep the official
Java documentation
and the
Spring Boot reference
handy. You can also connect this Java backend tutorial to your
SQL basics tutorial,
MariaDB tutorial for developers,
Linux basics for developers,
and
CI/CD pipeline tutorial.
1. Why Java for backend development?
Java has been running production backends for decades, and this Java backend tutorial builds on that foundation. The JVM gives you mature garbage collection, excellent profiling tools and battle-tested libraries. On top of that, frameworks like Spring Boot make it easy to bootstrap microservices in a few lines of code.
In practice, Java backends are often chosen for:
- Stability and performance – long-running services with predictable GC behaviour.
- Rich ecosystem – integrations with databases, messaging systems, and analytics tools.
- Strong typing – compile-time checks that catch many bugs early.
If you are already using technologies like
Apache Spark,
Apache Flink,
or
Scala for data engineering,
you are already in JVM land. A Java backend is a natural fit in that ecosystem.
2. Java backend tutorial environment setup
To follow this Java backend tutorial, you will need:
- Java 17 or later installed
- Maven or Gradle (we’ll use Maven in the snippets)
- Your favourite IDE (IntelliJ IDEA, VS Code with Java plugins, etc.)
2.1 Check your Java version
java -version

# Expect something like:
# openjdk version "17.0.x" ...
2.2 Generate a Spring Boot project
The easiest way to start this Java backend tutorial is to use start.spring.io. Choose:
- Project: Maven
- Language: Java
- Spring Boot: latest stable
- Dependencies: Spring Web
Download the generated project and unzip it. Your pom.xml will look roughly like this:
<dependencies>
  <dependency>
    <groupId>org.springframework.boot</groupId>
    <artifactId>spring-boot-starter-web</artifactId>
  </dependency>
</dependencies>
This gives you an embedded Tomcat server plus everything you need to build JSON APIs.
3. Java backend tutorial: basic Spring Boot REST controller
Now we will add a simple REST controller to our Java backend. The goal is to have an endpoint like GET /api/health return a JSON payload. This is the “hello world” of many Java backend tutorials.
3.1 Create the main application class
In src/main/java/com/example/demo/DemoApplication.java you should see a class similar to this:
package com.example.demo;

import org.springframework.boot.SpringApplication;
import org.springframework.boot.autoconfigure.SpringBootApplication;

@SpringBootApplication
public class DemoApplication {

  public static void main(String[] args) {
    SpringApplication.run(DemoApplication.class, args);
  }
}
3.2 Add a health check controller
Next, create src/main/java/com/example/demo/HealthController.java to serve a small JSON response:
package com.example.demo;

import java.time.Instant;
import java.util.Map;

import org.springframework.web.bind.annotation.GetMapping;
import org.springframework.web.bind.annotation.RestController;

@RestController
public class HealthController {

  @GetMapping("/api/health")
  public Map<String, Object> health() {
    return Map.of(
        "status", "UP",
        "service", "java-backend-tutorial",
        "time", Instant.now().toString()
    );
  }
}
This small controller is enough to prove that your Java backend tutorial environment is working and responding with JSON.
4. Java backend tutorial: domain model and repository
Real backends do more than health checks. In this section of the Java backend tutorial, we will model a simple entity—a Task—and add an in-memory repository. Later, you can swap this for a real database using the techniques in your
SQL basics tutorial
and
MariaDB tutorial for developers.
4.1 Define a Task DTO
Create TaskDto.java:
package com.example.demo;

public class TaskDto {
  private Long id;
  private String title;
  private boolean completed;

  public TaskDto() {}

  public TaskDto(Long id, String title, boolean completed) {
    this.id = id;
    this.title = title;
    this.completed = completed;
  }

  public Long getId() { return id; }
  public void setId(Long id) { this.id = id; }

  public String getTitle() { return title; }
  public void setTitle(String title) { this.title = title; }

  public boolean isCompleted() { return completed; }
  public void setCompleted(boolean completed) { this.completed = completed; }
}
4.2 Create an in-memory repository
For the sake of this Java backend tutorial, we will store tasks in a simple map. Later, you can replace this with JPA entities and a relational database.
package com.example.demo;

import java.util.*;
import java.util.concurrent.ConcurrentHashMap;
import java.util.concurrent.atomic.AtomicLong;

import org.springframework.stereotype.Repository;

@Repository
public class TaskRepository {

  private final Map<Long, TaskDto> storage = new ConcurrentHashMap<>();
  private final AtomicLong seq = new AtomicLong(0);

  public List<TaskDto> findAll() {
    return new ArrayList<>(storage.values());
  }

  public Optional<TaskDto> findById(Long id) {
    return Optional.ofNullable(storage.get(id));
  }

  public TaskDto save(TaskDto input) {
    Long id = (input.getId() != null) ? input.getId() : seq.incrementAndGet();
    TaskDto toSave = new TaskDto(id, input.getTitle(), input.isCompleted());
    storage.put(id, toSave);
    return toSave;
  }
}
5. Java backend tutorial: CRUD REST endpoints
Now we will expose CRUD endpoints for Task objects. This is where the Java backend tutorial becomes directly useful for real applications: you can adapt these patterns for any resource type.
5.1 Task controller with REST mappings
Create TaskController.java:
package com.example.demo;

import java.net.URI;
import java.util.List;

import org.springframework.http.ResponseEntity;
import org.springframework.web.bind.annotation.*;

@RestController
@RequestMapping("/api/tasks")
public class TaskController {

  private final TaskRepository repo;

  public TaskController(TaskRepository repo) {
    this.repo = repo;
  }

  @GetMapping
  public List<TaskDto> all() {
    return repo.findAll();
  }

  @PostMapping
  public ResponseEntity<TaskDto> create(@RequestBody TaskDto input) {
    TaskDto saved = repo.save(input);
    return ResponseEntity
        .created(URI.create("/api/tasks/" + saved.getId()))
        .body(saved);
  }

  @GetMapping("/{id}")
  public ResponseEntity<TaskDto> getOne(@PathVariable Long id) {
    return repo.findById(id)
        .map(ResponseEntity::ok)
        .orElse(ResponseEntity.notFound().build());
  }
}
These endpoints return and accept JSON. You can test them with curl, Postman or any HTTP client.
5.2 Test the Java backend with curl
Run the application:
mvn spring-boot:runThen, in another terminal, create and read tasks:
# create a task
curl -X POST http://localhost:8080/api/tasks \
  -H "Content-Type: application/json" \
  -d '{"title": "Write Java backend tutorial", "completed": false}'

# list tasks
curl http://localhost:8080/api/tasks

# get one task
curl http://localhost:8080/api/tasks/1
6. Simple response “table” for the Java backend tutorial
To link this Java backend tutorial back to your WordPress content, you can represent typical API responses as a small HTML table. Suppose your GET /api/tasks call returns this JSON:
[
  { "id": 1, "title": "Write Java backend tutorial", "completed": false },
  { "id": 2, "title": "Add CI/CD pipeline", "completed": false }
]
You can display that in a simple table so readers can visually parse the response shape:
| ID | Title | Completed | Relative Status |
|---|---|---|---|
| 1 | Write Java backend tutorial | false | |
| 2 | Add CI/CD pipeline | false |
Even this small visualization reinforces the structure of the JSON your Java backend returns. You can later combine this with dashboards, React components (see the
React dashboard tutorial),
or analytics flows involving technologies like
Google Analytics / Ads tracking.
Together, these steps form a compact Java backend tutorial: you created a Spring Boot project, added REST endpoints, wired a simple repository, and tested everything with curl. From here, you can add persistence, validation, security and CI/CD using other posts in your tech carousel.